Summary
Most weighted blankets have a series of loops and ties to attach the duvet cover to the heavy insert, as well as either a zip or buttons to fasten the side that has the opening.
You can watch me demonstrate how to put a duvet cover on a weighted blanket with 10 loops and ties in the video above, or read the transcript below.
The same process I explain in the video will work for most brands. One notable exception is the Gravity Blanket, which has three zips rather than loops and ties on all four sides. However, the first key step of turning the duvet cover inside out still applies, after which it will be clearer how the zips line up.
Video transcript

My top tip for attaching a weighted blanket duvet cover is to remember to turn it inside out first. As long as you don’t forget that part, then the rest should be relatively easy to work out, no matter which weighted blanket it is. But let me show you the whole process from start to finish.
Step 1: Turn the duvet cover inside out
To reverse the cover, just put your arms inside, grab the far corners, and pull them back through the opening. Then lie the cover flat on top of the main weighted blanket insert.
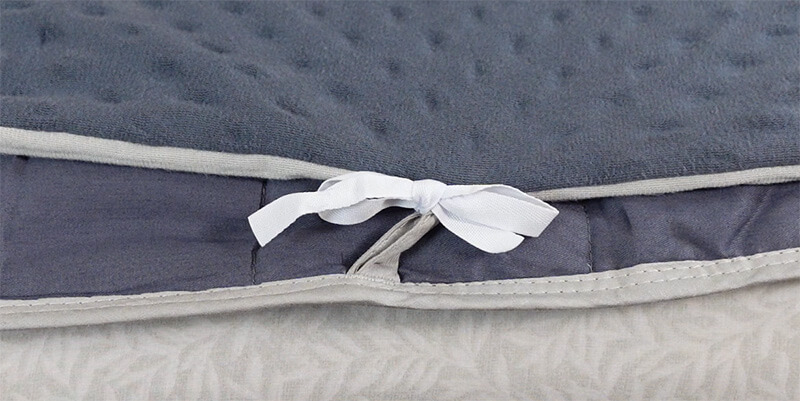
Step 2: Tie the loops and ties
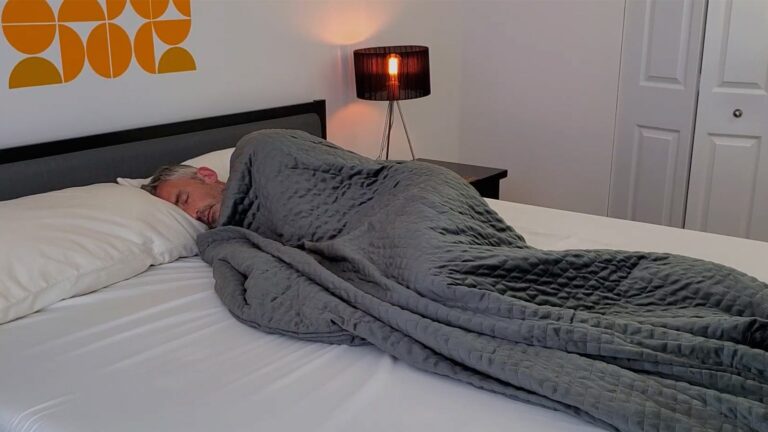
This one is the Cozy Home weighted blanket, which attaches with 10 loops and ties, which you need to fasten. A couple of companies, such as Gravity, have a new system with multiple zips, but most still attach this way.

You can tie them with a basic bow, and while it’s good to tie them well, don’t make it impossible to untie them later. And if you find it fiddly to thread the tie through the loop, a good tip is to go around first with a chopstick or a pen to open up the loops.
I’ve sped up this section of the video to save you from watching me tie the same knot for 3 minutes, but in case you’re wondering, it took 3 minutes and 40 seconds to attach the cover, which is typical of how long it takes me.
It’s also worth mentioning that it doesn’t matter which way you line up the Cozy Home weighted blanket and cover, but some might be designed so that the zip of the cover must match the right or the left side of the weighted insert. So, it’s always worth checking the instructions and checking if there are any labels on the cover or the blanket to help you position the two parts.
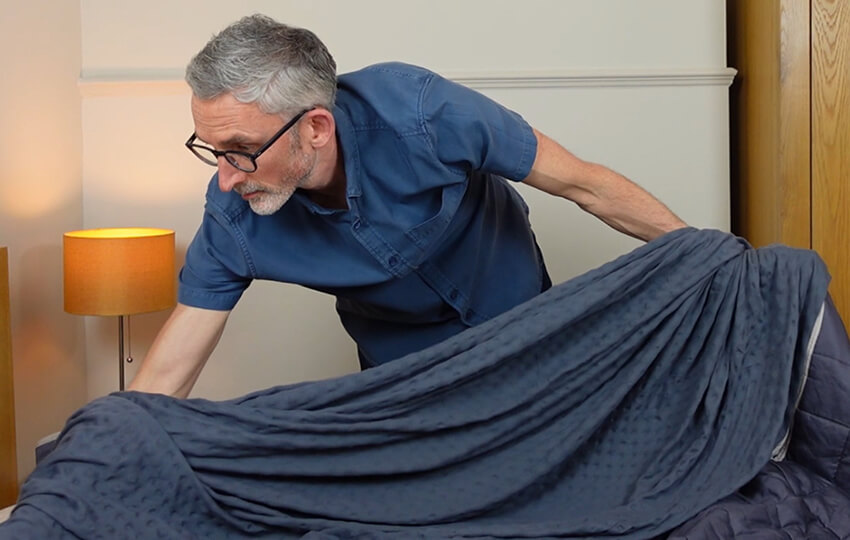
Step 3: Pull the weighted blanket back through the cover so the cover is no longer inside out
Once you’ve tied all the ties, you need to turn the cover inside out again, but this time bringing the weighted section with it. Put your arms through the opening of the cover, find the corners, and grab onto the weighted section through them, and then pull the whole lot back through the opening.
Step 4: Adjust the weighted insert and cover so it all lines up neatly
At this point, you can either grab the blanket firmly and do some gentle wafting to help the cover into place, or if it’s too heavy for you, just keep it on the bed and pull the cover down. The blanket I have here only weighs 6.8 kilos, which is 15 lbs, so I’m able to shake it without too much difficulty. But please, don’t put your back out trying to shake it when it’s just as easy to organize the cover while it’s on the bed.
Before you zip it up, you might need to do some final adjusting on the side where the opening is, as I found here it still wasn’t quite in place. So, I gave it a final shake just to make sure the weighted blanket is neatly inside the cover.
Step 5: Zip it up
And finally, when you’re happy that everything is in the right place, you can zip up the cover if it has a zip, or do up the buttons if it has buttons.

Removing the weighted blanket duvet cover
As you can probably guess, removing a weighted blanket cover is usually much quicker than attaching it. However, the knots can sometimes become really tight, and if you don’t have any nails, it might take you a bit longer. Let me show you how the process goes.
To remove the weighted blanket cover, start by lying it flat on the bed and unzipping it. Then you can open it slightly and start untying the bows that attach the cover to the weighted blanket.
You might find that some of the knots are quite tight, either because they were tied tightly in the first place or because of the way the blanket’s been moved around. It’s another reason not to bite your nails because they’re going to be very useful here. I’ve sped this part up again, but I can tell you it took 1 minute and 40 seconds to remove the cover from start to finish.
Now, I know some people recommend turning the cover inside out once you’ve untied one side, but I found you can usually just pull the cover back as you go to reveal more ties and save yourself the hassle of lifting a heavy blanket.
And that’s all there is to it. As you can see, apart from the knots potentially being problematic, it’s much easier to remove the cover than attach it.
I know it can seem a bit time-consuming and fiddly to remove and reattach the cover every time you need to wash it, but it’s not so bad once you’ve done it a couple of times. However, if you really don’t like the idea of going through this process repeatedly, then perhaps choose a weighted blanket that’s one piece, and the whole thing can be washed, rather than one with a removable cover.
Thanks for watching (or reading). This is Ethan from No Sleepless Nights.